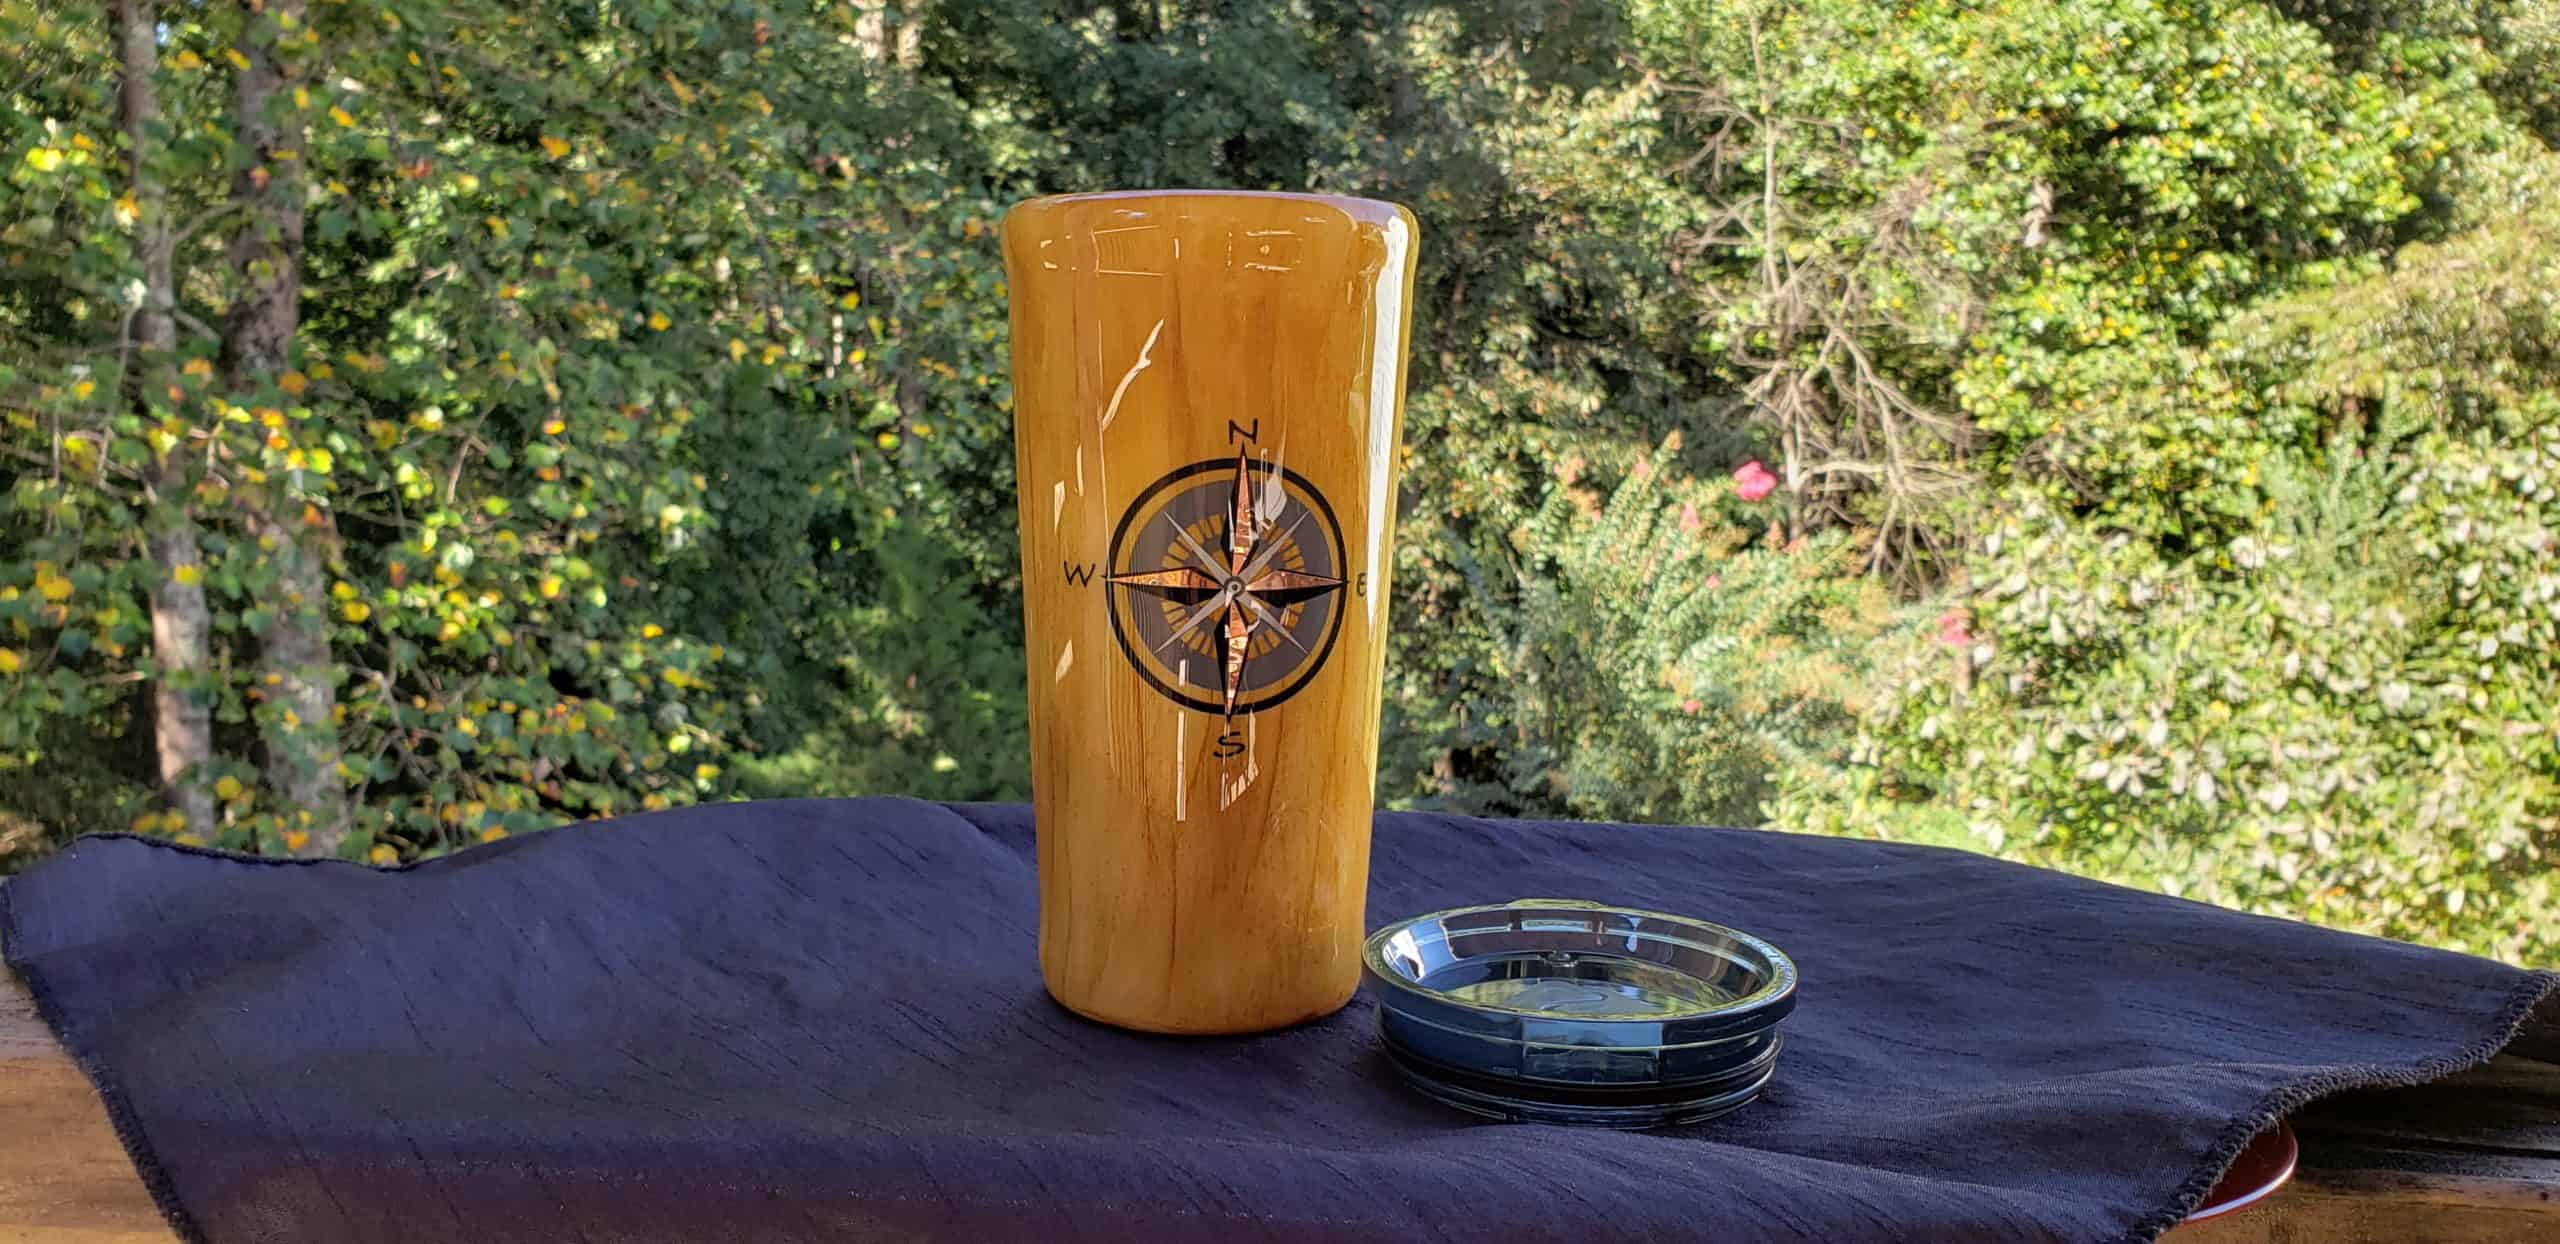
Personalizing Stainless Tumblers with Wood Grain Using Alcohol Inks
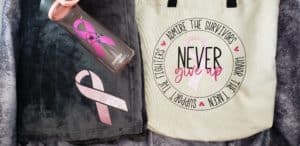
If you’re like me, you’ve been seeing wood grain alcohol ink tumblers all over social media. Not gonna lie….they look very COOL. It’s such a different look than your usual epoxied tumblers and will look great for both men and women. If you choose to use vinyl in this project, you can definitely customize it as needed. And keep in mind, you don’t just have to use wood colors for this to look great. Other colors can be very interesting.
The nice thing about these tumblers is that they look MUCH harder to produce than they actually are. The epoxy is the most challenging step with this project, but if you follow along with the steps below, you should end up with a tumbler you may not want to part with. Let’s dig in, shall we?
Supplies Needed
- Stainless Tumbler
- Alcohol Ink (I used Tim Holz Caramel)
- Rust-Oleum Matte Spray Paint – White
- Rust-Oleum Matte Spray Paint – Clear
- Food safe epoxy
- Tumbler turner
- Medicine cups and popsicle sticks
- Acetone or Nail Polish Remover
- Stencil brush or flat edge paint brush
- Silicone makeup brush (optional)
- 220 grit sandpaper
- Disposable gloves
- Permanent adhesive vinyl (optional)
- Weeding tool (if using vinyl)
- Transfer tape (if using vinyl)
- Exacto knife or Cricut TrueControl Knife
Step 1: Prep your tumbler
It’s important to remove the clearcoat on the stainless tumbler. This will help prep the tumbler to receive the alcohol ink.
- Sand the tumbler using 220 grit sandpaper. Start with small circles on the bottom of the tumbler first and then work the sides from top to bottom (continuing with small circles).
- Wash the tumbler with soap and water to remove the coating and the black residue. Dry well after you wash it.
- Wipe down your tumbler with an alcohol pad and 91% rubbing alcohol. Allow the rubbing alcohol to evaporate thoroughly.
- Spray the sides of the tumbler with Rust-oleum Matte White spray paint. Allow to dry for a couple of minutes and then paint the bottom of the tumbler.
- Repeat step 4 and let dry for at least an hour.
Step 2: Apply wood grain with alcohol ink
- After prepping the tumbler, insert some sort of holding device. This can be the rotating arm from your turner, a small ball and pvc pipe, or a folded up washcloth (or two) with a stick or pvc pipe. This will allow you to work on the tumbler without touching the wet ink. For easier application, use the handle (arm, pipe, stick, etc.) to hold the tumbler horizontal when working on the sides. You can even insert your non-dominant hand into the tumbler while applying the alcohol ink to hold it horizontal.
- After shaking your alcohol ink, apply a thin line of ink from the top to the bottom of your tumbler. Use your stencil brush or paint brush to spread the ink from the top to the bottom of the tumbler. Keep in mind that you are expecting this to be streaky to simulate the wood grain.
- Run another line of ink next to the previous line and spread it with the paintbrush working the ink from the top to the bottom of the tumbler. Repeat this process all around the sides of the cup.
- Remove the handle you’re using to hold the tumbler and set it on your table upside down. You can then apply a thin line of alcohol ink to the bottom of the tumbler and spread it in a line. You’ll repeat the process working in the same direction. NOTE: Alcohol ink dries very fast which means you’ll need to work quickly. The good news is that the ink will be dry by the time you get around the side of the tumbler.
- Let the alcohol ink dry for at least an hour. Using Rust-Oleum Matte Clear spray paint, apply two LIGHT coats to the sides and bottom of your tumbler. This will protect the ink from reactivating once you apply the epoxy in the next step. NOTE: Be sure to do a LIGHT coat on the first pass since the paint will cause the ink to run if it’s a heavy coating.
Step 3: Apply epoxy coating
Before beginning, put your tumbler on your turner. Ensure the tumbler is able to rotate evenly.
First Coat
- Add 10 ml of Part B epoxy into a medicine cup.
- Add 10 ml of Part A epoxy into the same medicine cup.
- Using a large popsicle stick, begin stirring the epoxy until well-mixed. (The epoxy will transform from a clear mixture to a cloudy mixture and then (finally) to a clear mixture.)
- Applying a quick blast (1-2 seconds) to the top and bottom of your medicine cup with your heat gun will help remove any micro bubbles.
- Start rotating your tumbler.
- Begin applying the flood coat slowly and methodically by running a thin line of the premixed epoxy lengthwise on the tumbler. Using your gloved hand or a silicone makeup brush, spread the epoxy evenly over the tumbler. Keep applying thin lines of epoxy and smoothing until the sides of the tumbler have been covered.
- Once the sides are epoxied, using your gloved fingers or silicone makeup brush, apply the epoxy to the bottom of the tumbler. Ensure there is an even coat of epoxy on the bottom edge and the top edge.
Preparing for Second Coat and Vinyl Application
- Rotate tumbler for 8 hours.
- Wearing gloves, 220 grit sandpaper to lightly rough up the surface of the epoxy. Pay special attention to the top and bottom edges of your tumbler to make sure they are smooth. NOTE: Before using the sandpaper, you want to make sure there are no soft spots in the epoxy.
- Remove your gloves or wipe off your hands to remove the sanding dust and wipe down the tumbler with alcohol using a cotton pad.
- Apply your vinyl decal to the tumbler. Don’t get too close to the lip of the tumbler. NOTE: If you are not applying vinyl, proceed to the next step : “Second Coat”.
Second Coat
- Add 10 ml of Part B epoxy into a medicine cup.
- Add 10 ml of Part A epoxy into the same medicine cup.
- Using a large popsicle stick, begin stirring the epoxy until well-mixed. (The epoxy will transform from a clear mixture to a cloudy mixture and then (finally) to a clear mixture.)
- Applying a quick blast (1-2 seconds) to the top and bottom of your medicine cup with your heat gun will help remove any micro bubbles.
- Start rotating your tumbler.
- Begin applying the epoxy slowly and methodically by running a thin line of the premixed epoxy lengthwise on the tumbler. Using your gloved hand or silicone makeup brush, spread the epoxy evenly over the tumbler. Keep applying thin lines of epoxy and smoothing until the sides of the tumbler have been covered.
- Once the sides are epoxied, using your gloved fingers or silicone makeup brush, apply the epoxy to the bottom of the tumbler. Ensure there is an even coat of epoxy on the bottom edge and the top edge.
- After the tumbler rotates for 1-2 minutes, use your heat gun to BRIEFLY run heat across the tumbler to help release micro bubbles.
- Rotate for 8 hours without disturbing. Pro tip: You can rap your knuckle against the bottom of the tumbler after 8 hours to see if it’s hardened.
Finishing your Tumbler
- Using an Exacto or Cricut TrueControl knife, remove any excess epoxy around the rim. You want the rim to be smooth.
- Remove any overspray on the inside of the tumbler with acetone from the hardware store or nail polish remover. This can be applied with a cotton pad. NOTE: Do not let acetone come in contact with the epoxy on the outside of the tumbler. The acetone can eat away at the epoxy.
- Hand wash the tumbler in cold water. This helps prevent reactivating the epoxy. The tumbler will be fully cured in 72 hours. At that time, you can begin hand washing in hot water as needed.
Summary
In conclusion, to make the wood grain tumbler you should follow these steps:
- Prep your tumbler
- Apply the wood grain (or other effect) with alcohol ink
- Apply the first coat of epoxy
- Optional – Apply your vinyl
- Apply the second coat of epoxy
- Finish your tumbler
While this project is a little more advanced than some of my projects, it’s definitely doable. The look of the wood grain and the durability of the epoxy makes this a unique and thoughtful gift. If you don’t have a cutting machine, you can easily use premade decals or you can leave it as is with just the wood grain finish. Either way, it looks great.