Using HTV to Create a Wooden Halloween Sign
I don’t know about you, but this time of year, I start seeing more and more cute Halloween decor. One thing I thought would be fun to do this year is to create a wooden sign with a Halloween theme. I’ve been pretty busy lately, so I decided to take a shortcut and go on DesignBundles.net to find an svg file to use. I wasn’t disappointed. I quickly found a Halloween bundle (or two or three) and made my purchase(s). I also went to Michael’s and found a suitable wooden sign that would be perfect for my Halloween sign.
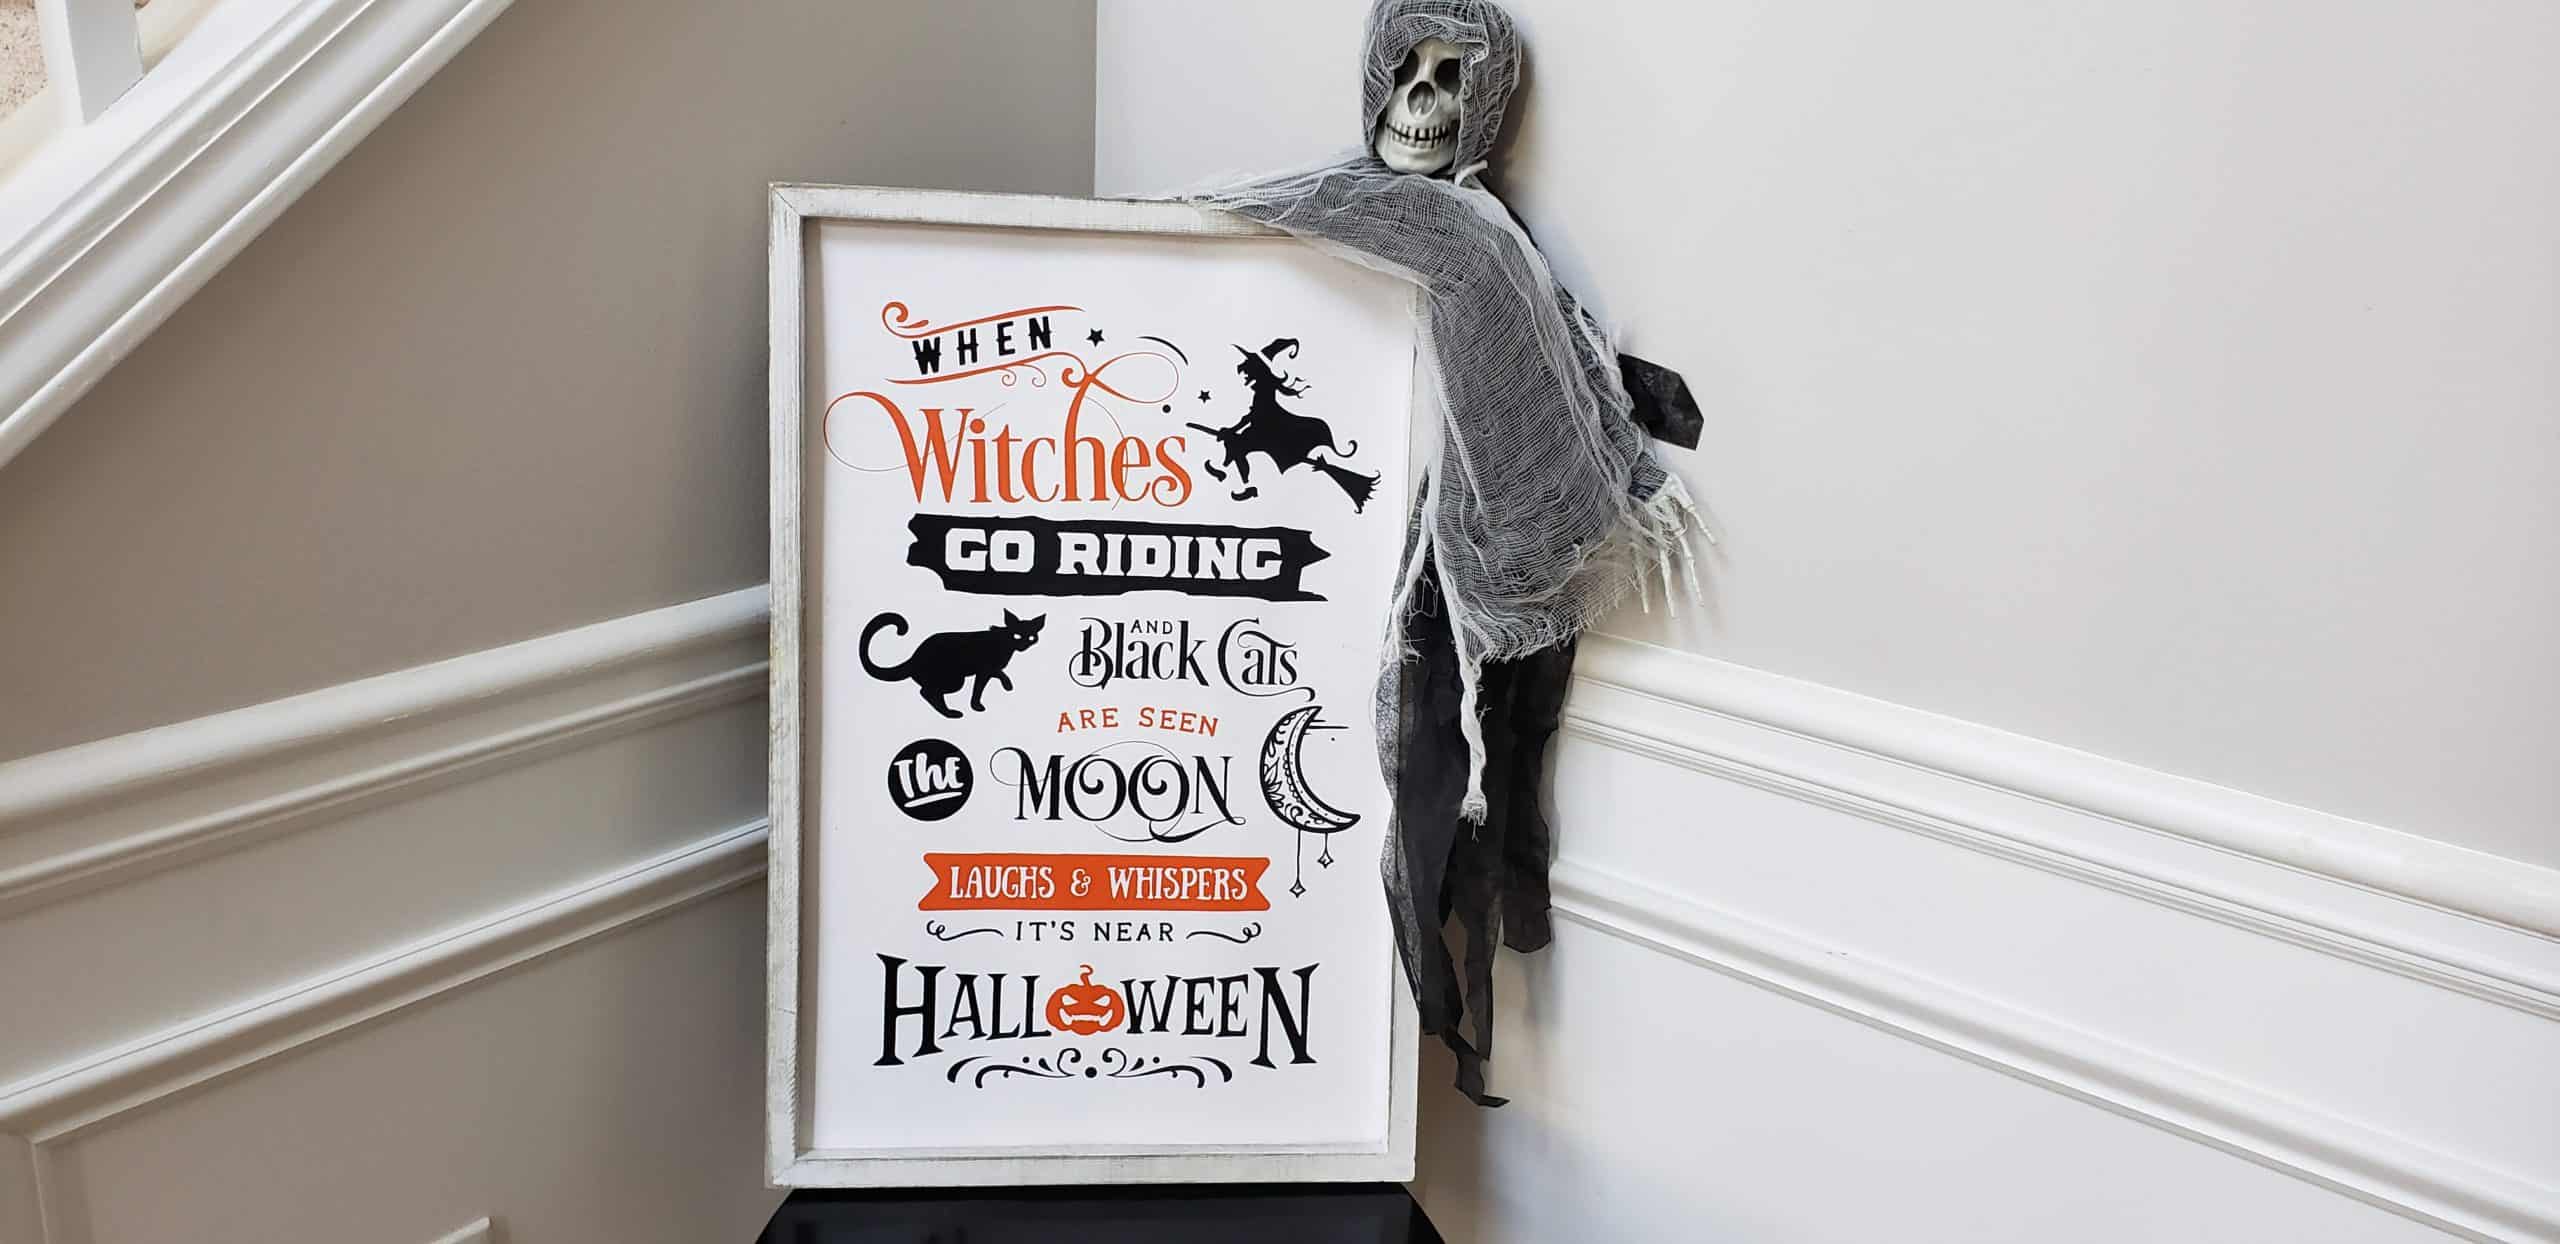
One thing that is important to note is that this sign can be made with either HTV (Heat Transfer Vinyl or iron-on) or permanent adhesive vinyl. I chose HTV, because I like the way the completed project looks. The HTV gives it a more painted appearance; however, adhesive vinyl would also work great (and is typically less expensive). Feel free to pick the vinyl of your choice and let’s get started.
Supplies Needed
- Heat Treat Vinyl – I used:
- Cricut Sportflex (Orange)
- Cricut Everyday Iron-On (Black)
- ALTERNATIVE: Permanent Adhesive Vinyl
- Wooden sign
- Cricut cutting machine (Maker family, Explore family or possibly Joy)
- EasyPress Mini (if using HTV)
- Weeding tool
- Polycrylic Protective Finish – clear matte
- 220 grit sandpaper
Step 1: Prep Sign
Be sure your sign is free of dirt. Lightly sand the part of the sign where the vinyl will be applied. For the brand I used, spray three light coats of Polycrylic Protective Finish over your sign. Allow 30 minutes minimum to 90 minutes maximum of drying time between coats. If you’re unable to recoat within 90 minutes, then you’ll need to wait 72 hours before lightly sanding and recoating. You may need to modify these steps if you use another brand of polycrylic. My sign was very smooth already, so I didn’t need to sand much at all.
Step 2: Uploading Your Design in Design Space
Pull up your design in Cricut Design Space. You can either find a design in the Design Space image library or you can upload an svg file from a company like DesignBundles.net. Here’s the link to the svg I used for my Halloween sign. If you’re unsure how to upload an svg file or find an image in Design Space, see Step 1 of my Halloween Shirt post.
Once you upload your design into Cricut Design Space you will need to size it based on the blank that you are putting it on. A favorite hack I use is to add a template to Design Space. This will be my guide to sizing the design to the appropriate size to fit my blank. Note that the height and width you will use for the template is the area that you would apply your vinyl to. In the case of a sign, you would NOT include the frame in your dimensions.
To make a template, simply click on Shapes -> Square. If the blank you are using isn’t the same size horizontally and vertically, you’ll need to click on the Lock in the Sizes menu along the top to unlock the proportions. Click in the W(idth) field and type in the width and press Enter. Then click on the H(eight) field, type in the height and press Enter. Once you get the width and height situated, press on the Lock again to lock the proportions. If you accidentally resize the template, your dimensions will stay proportional regarding the width and height. Right click the template and select Send to Back.
If you are using a 12″x12″ cutting mat, the max cut size is 11.5″x11.5″. If you are using a 12″x24″ mat, the max cut size is 11.5″x23.5″. Depending on the size of the sign you are using, you may want to reduce the size of your design so it fits within the max cut size. Sizing your design and placing it over your template will give you an idea of how these dimensions will look. Once you are satisfied with the size of your design, click save.
What do you do if your design is bigger than your cutting mat?
If your design is larger than your cutting mat….no fear. I can show you how to handle that.
- First, size your design to your desired dimensions. For this example, we will assume your design is purple.
- Create a square template and size it to 11.5″x11.5″. Change the color to something that is NOT part of your design. For this example we will say the color is green.
- Cover the topmost portion of your design with the square.
- Duplicate the square as many times as necessary to cover the entire design.
- Align the squares over your design to completely cover it. Your squares should slightly overlap each other on the edges where they touch.
- Using the Layers panel, select your design and one of the squares. Click on “Slice”. You want to keep the newly sliced purple design. I like moving it to another part of the canvas so nothing happens to it.
- NOTE: If Slice isn’t available, it means there are more than two layers selected. Most likely it’s because the design is Grouped. If that is the case, Ungroup the design and reGroup by color. Select a color grouping and then Weld for the particular color you just selected. Repeat for the other colors.
- Using the Layers panel again, select the remainder of your main design and another square. Click on “Slice”. Again, you want to keep the newly sliced purple design and move it to the other area of the canvas with your first sliced piece.
- Repeat as many times as you have squares. Once you are done, you can delete the remnants of your squares. You only need to keep the purple portion of the slices.
- After cutting your vinyl on the various mats, you will need to piece them together on your blank.
- I highly recommend using the parchment paper hack to help with alignment if you need to slice your design.
Step 3: Cut Your HTV or Adhesive Vinyl
Once your design has been sized appropriately, click “Make It”. If you are using HTV, please MIRROR your design on each mat. (If you choose to use adhesive vinyl for this project, do not Mirror your design.) Select the correct cut setting for each mat and weed each design.
Step 4: Applying your vinyl
For HTV, put your heat mat under the wood sign, then place your first section of vinyl (shiny side up) on your sign and cover with parchment paper. Use your mini press (set to medium) to press each section for 40 seconds at medium pressure. (Note: If your sign is flat, then you can use a larger Easy Press. My sign had some waviness to the surface, so the Mini Press was the better way to go.) Once the section has been heated the appropriate amount of time, peel the liner once it’s cool to the touch.
If your design was larger than your mat and you had to slice it, place the next section of vinyl on your sign, being careful to line up all the pieces of vinyl that touch. You want a smooth, even transition from one section to the other. Once you’re satisfied with your alignment, cover with parchment paper and press for 40 seconds using your Easy Press. Remove the liner once it’s cool to the touch and repeat the process for the remaining sections of vinyl.
If you have multiple colors in your design, you will repeat the process for each color. Be careful to limit reheating any of the sections that have previously been pressed and have their liner removed. Once you’ve completed each section, cover with parchment paper and repress one more time for about 15 seconds each part.
In conclusion
Creating your own Halloween sign can be a lot of fun and it definitely instills a sense of accomplishment when you’re done. Although I created my sign using HTV, it would be very easy to create the sign using permanent adhesive vinyl. As a matter of fact, the adhesive vinyl route would be faster, easier and less expensive than the HTV route. I’m still very happy with the HTV version.
Regardless of whether you’re using HTV or permanent adhesive vinyl, the steps for this project are:
- Prep your sign
- Upload your design
- Cut your design
- Apply your vinyl
As I showed you, this project can even be done even if your design is larger than the standard Cricut mats. With the techniques I provided and a little patience, you can create the perfect Halloween sign to suit your decor in whatever size you want. Happy crafting!